Getting started
Getting started: install emailbudAI and connect your mail
From download to your first summary: the PC check, choosing an AI model, signing in with your invite code and connecting Outlook, Microsoft 365 or Gmail.
emailbudAI installs with one file and asks you only a few questions. Everything, including the AI, runs on your own PC, and you don't need administrator rights. This post walks you from the download to your first summarised email in about ten minutes (plus the AI model's download time).
1. Run the installer
Download emailbudAISetup.exe from your account page and double-click it. Because the installer isn't code-signed yet, Windows may show a blue Windows protected your PC window. Click More info, then Run anyway. There's nothing wrong with the file; it just doesn't have a certificate yet (more about this).
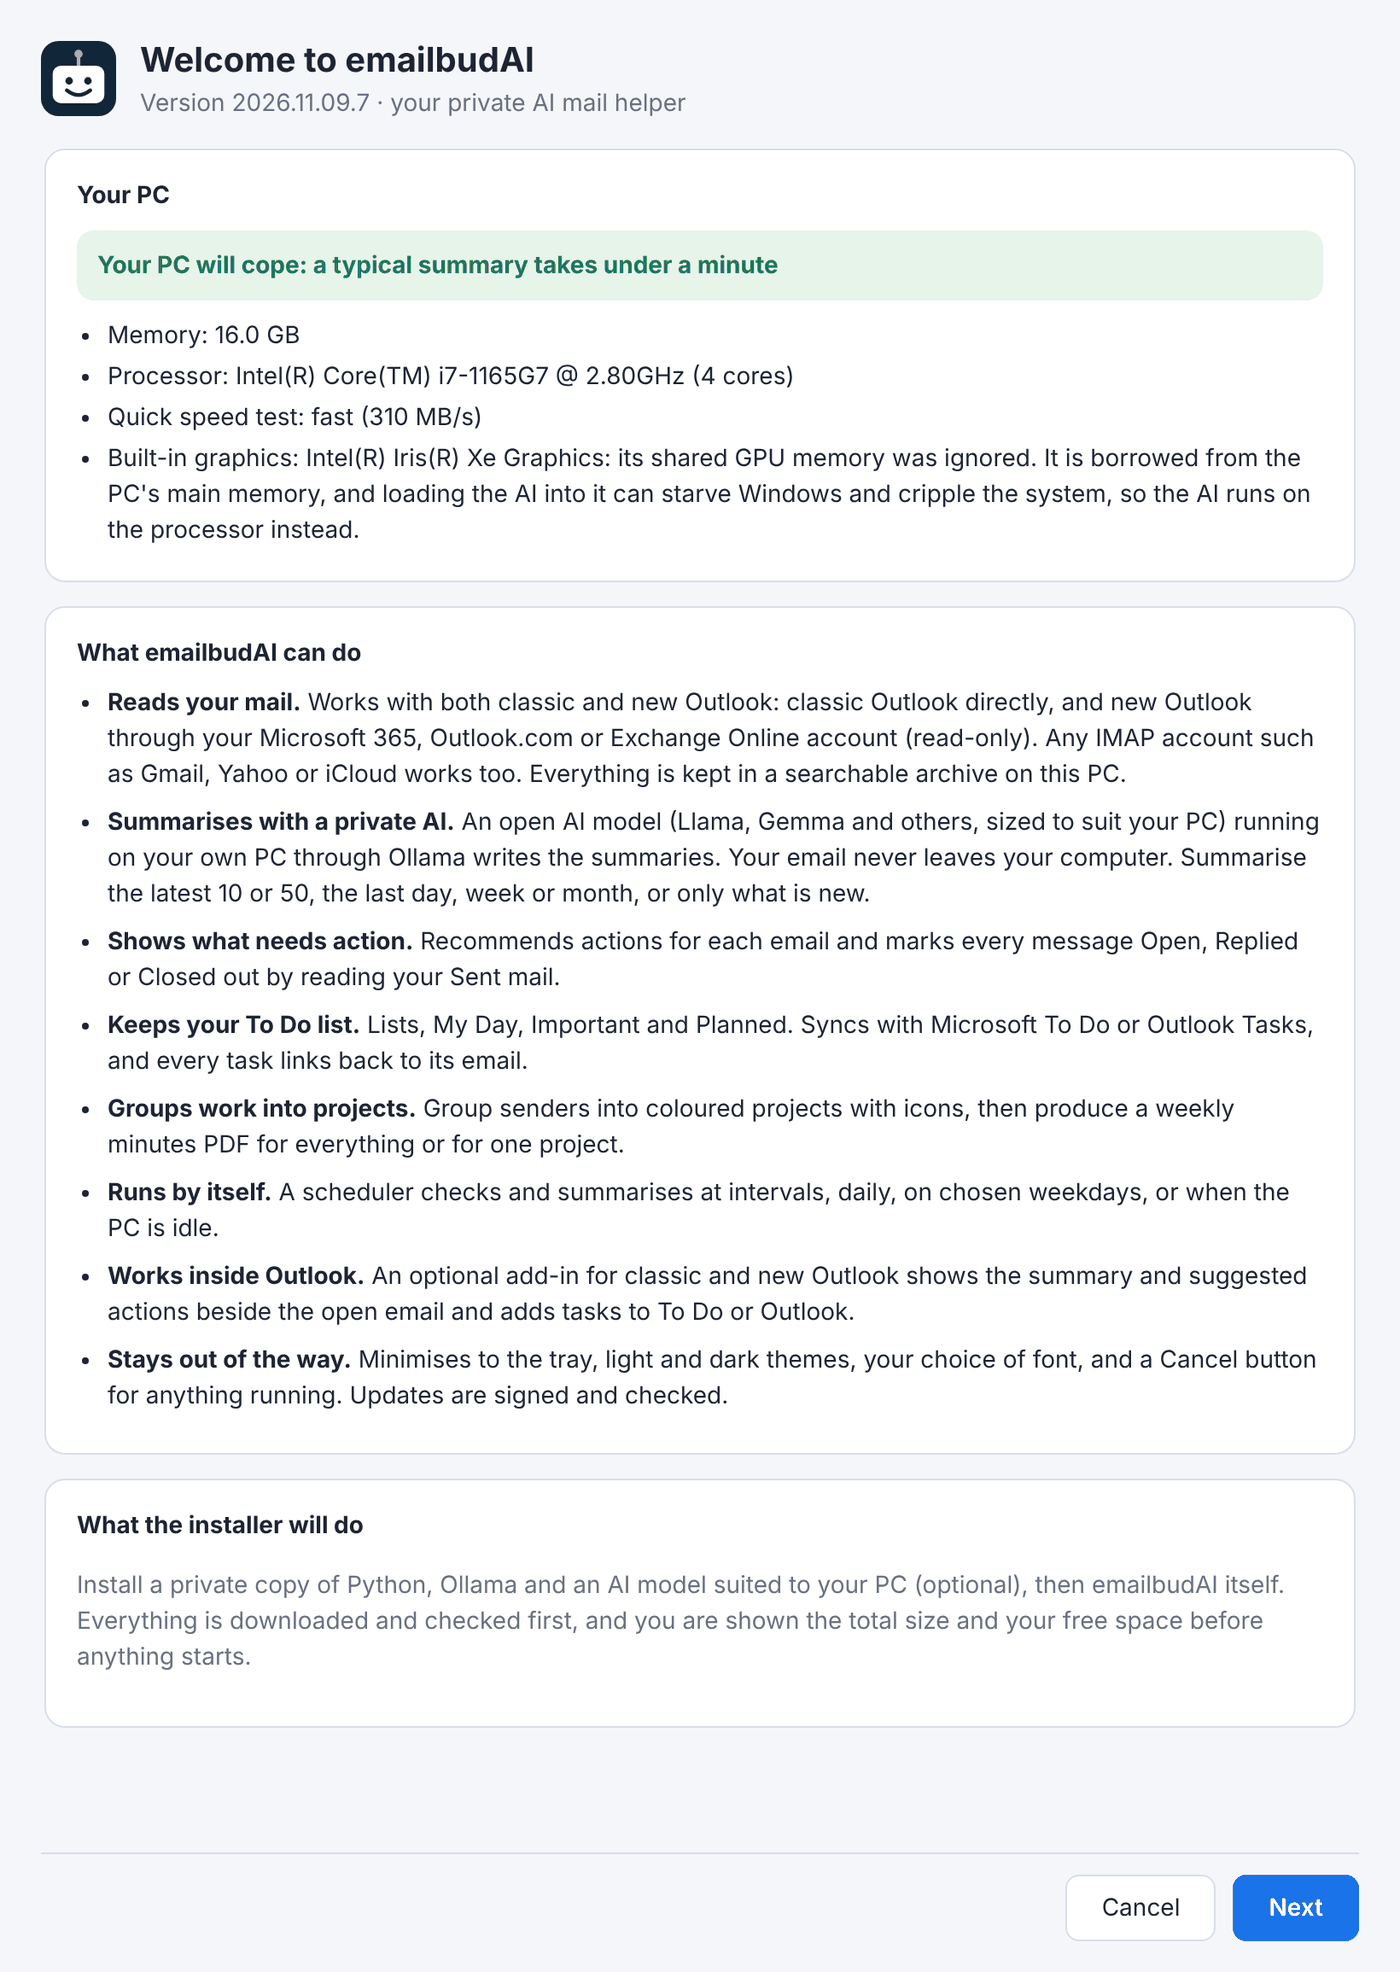
The rating tells you what to expect: Good means quick summaries, Ok means a summary in under a minute, Slow means a few minutes per batch, and Poor means the PC is short of memory for the AI (reading, searching and To Do still work).
2. Accept the licence and pick an AI model
Read and accept the licence agreement, then choose where to install and which AI model to use. The model that suits your PC is already selected and marked recommended. Bigger models write better but run slower, and each one shows how much of an email it reads. Tick the box to accept what the AI can and can't do, then click Install.
Everything is downloaded first and checked (Python by its publisher's signature, Ollama by its checksum), then installed with no windows popping up. Interrupted downloads carry on where they stopped.
3. Sign in
emailbudAI asks you to sign in once on each PC. Type your email address, click Email me a code and enter the 6-digit code from the email. There's no password. New accounts are by invitation only for now: if you were sent an invite code (EB-XXXX-XXXX), click I have an invite code and type it in. Don't have one? Register your interest.
4. Tell it where your email is
Choose one of three connections. You can change it later under More > Mail account…
| Choose | If you use | What you need |
|---|---|---|
| Outlook desktop app on this PC | Classic Outlook | Nothing: Outlook just needs to be open and signed in. |
| Microsoft 365 / Outlook.com / Exchange Online | New Outlook, or any Microsoft online mailbox | A free, five-minute app registration (read-only access). The user guide has the steps. |
| Email account (IMAP) | Gmail, Yahoo, iCloud and others | Usually an app password from your provider. |
Click Connect & download, and emailbudAI fetches your recent mail into a private archive on your PC.
5. Tell the AI who you are
Open Settings (the gear) and fill in About you: first name, surname and, if you like, your role. The AI then knows when an email asks you to do something rather than just copying you in, and writes summaries in the first person.
Next
Open the Summarise menu and choose Latest 10 emails. Here's what happens next.